
Trying to get a rougher (and not to mention a more thrilling) approach to cycling? If so, why don’t you venture to mountain biking?
Road biking may be excellent for setting and trying to beat time records. But mountain biking is a lot more about pedaling it all out and having the best time of your biker life.
Learn what mountain biking is, what types of mountain cycling there are, and what tips you will most find helpful when riding a mountain bike as a beginner.
Let’s get started.
Table of Contents
What is Mountain Biking?
So what really is mountain biking? And how can a beginner or somebody that has no experience even get started?
Basically, mountain biking is a sport of off-road riding of a specific type of bicycle called a mountain bike, over rough terrains.
Mountain bikes have a lot of similarities to other bikes but have additional specs engineered to enhance performance and durability in the toughest of terrains.
It also has several categories.
Categories of Mountain Biking
Mountain biking can be categorized into several types, namely: trail riding, all-mountain (commonly called “enduro”), cross-country, freeride, dirt jumping, downhill, four-cross, trials, marathon, and bikepacking.
Any of these types will require your balance, core strength, and endurance. Skilled riders, for instance, traverse both high incline climbs and steep technical descents.
For free riders, downhillers, and dirt jumpers, aerial movements are done from both natural settings and specified artificially constructed jumps and ramps.
Meanwhile, off-road trails such as back-country roads, singletrack, fire roads, advanced trails, and wider park trails which are created with berms, drop-offs, and jumps are the usual activities that mountain bikers do.
Trail Riding
Also called trail biking, trail riding is a non-competitive and recreational category of mountain biking, done on recognized and waymarked trails, forest paths, and unpaved tracks.
There are specific “trail bikes” designed for trail riding.
Trails may either be single routes or a part of larger complexes, which are called trail centers.
All-mountain or Enduro
Also called “all-mountain” riding, this category makes use of bikes with moderate-travel suspension systems and components that are most of the time more well-built compared to XC (cross-country) models, but with a weight that is still suitable for climbing and descending.
Under this category are two formats. One is “gravity” enduro, and the other is “big-mountain” enduro.
Gravity Enduro uses roughly equal amounts of uphill and downhill, but typically, the uphill segments are not timed. On the other hand, Big Mountain Enduro is closely similar to a downhill course but takes a longer amount of time, close to a full day of completion and is often integrated with climbing sections.
Accordingly, there is also a third format called “Super-D” which is closely related to XC but has sustained climbs and descents, but the climbs are less difficult than the descents.
In North America, Enduro racing is touted as “every man’s” race. Reportedly, most Enduro riders compete for fun.
Cross Country (XC)
Cross-Country or XC literally means riding from point to point or in a loop, including climbs and drops on various terrains.
Typically, a Cross Country bike should weigh around 9-13 kilograms and should have 0-125 millimeters of suspension travel front and rear. Cross Country mountain biking increases physical strength and endurance, among others.
In fact, XC is the only mountain biking category to be included in the Summer Olympic Games.
Freeride
Also known as Big Hit or Hucking, freeride is a recreational “do-anything” discipline that includes everything from downhill racing to riding “North Shore” style, jumping, and typically riding trails or stunts that may require more skill and competitive techniques compared to Cross-Country.
A usual freeride bike is hard to describe, but typical specs are 13-18 kilograms with 150-250 millimeters of suspension in its front and rear.
Freeride bikes are a bit heavier and more suspended than their Cross Country counterparts, but usually retain a lot of the XC bike’s climbing ability.
Dirt Jumping
Dirt jump is the execution of riding bikes over large mounds of soil or dirt and basically “jumping in the air.”
The main objective is for the rider to be airborne and should aim to land on the “knuckle” after riding over the “lip.”
Bikes used for dirt jumping are generally smaller in stature and have more steerable hardtails so that tricks such as tabletops, whips, and backflips are easier to execute.
Downhill
This category literally means maneuvering your bicycle downhill. Courses include large jumps of up to 39 feet, drops of up to 10 feet, and courses that are steep and rough from above up to the ground.
Downhill riders must have a good combination of total body strength, mental control, good aerobic and anaerobic health, as well as readiness for incurring serious injuries.
Downhill is counted as one of the most perilous and extreme disciplines in the bicycle world. Downhill riders are commonly heavily geared up with a trustworthy helmet and heavily padded full-body suits.
Bikes used for downhill are all equipped with large disc brakes, heavier frame tubing, and front and rear suspension, as compared to other bikes.
The most expensive professional downhill bike can weigh as light as 15 kilograms, has custom made carbon fiber parts, tubeless tires, air suspension and more. Frames used in downhill have 170-250 millimeters of travel and have a dual-crown fork with 200-millimeter travel.
Four-cross
Four-cross (4X) is a mountain biking category wherein four riders race against each other on a designed racetrack with berms, jumps, and tabletops.
Bikes used in four-cross are almost either a full suspension, with 3 to 4 inches of travel, or hardtails that have typically strong frames.
Four-cross bikes run a chain guide at the front and gears at the back. These bikes typically have slack head angles, low bottom brackets, and short chainstays for better acceleration and cornering.
The latest World Cup four-cross competition was won by a rider that was on a full-suspension bike.
Trials
This category is an execution of bike hops and jumps over obstacles without the rider’s foot touching the ground. Trials could be done either in an urban environment or off-road. This mountain biking category requires the rider to have a good sense of balance.
Bikes used in trials do not really look like mountain bikes. They either have 20″, 24″, or 26″ wheels and have small low frames, with some types lacking a saddle.
Marathon
Also called mountain bike touring, a marathon is a long-distance tour on single tracks and dirt roads using a mountain bike.
Specially designed mountain bikes for marathons are increasing in demand due to the popularity of the Colorado Trail and the Great Divide Trail along with other long-distance off-road trails.
Bicycle manufacturers, including Salsa, have started to develop mountain bikes made for touring. Their Fargo model is an example.
Bikepacking
Bikepacking is similar to bike touring, but the two generally use different types of bikes, and the difference is the method of carrying gear. This category is a self-supported style of light single or multiple night mountain biking.
So basically, bikepacking is literally backpacking, but on a mountain bike.
Bikepacking is typically about carrying less gear and using smaller frame bags. On the other hand, bike touring use panniers, or a bag carried in pairs.
Bikes used in this category are slightly taller by the frame to get the optimum frame bag capacity. This is attained by using a longer headtube, a reduced stem degree, and a more horizontal top tube.
10 Mountain Biking Tips for Beginners
Now that you already know the basics and the categories in mountain biking, here are some tips you can take note of in case you want to try and explore the world of riding mountain bikes.
By the way, if you’re still looking to buy your first mountain bike, we have a bunch of buying guides here. For the following list of biking tips, I’ll be focusing on how you can enjoy your mountain biking experience even if you still consider yourself a beginner.
1. Stay Loose
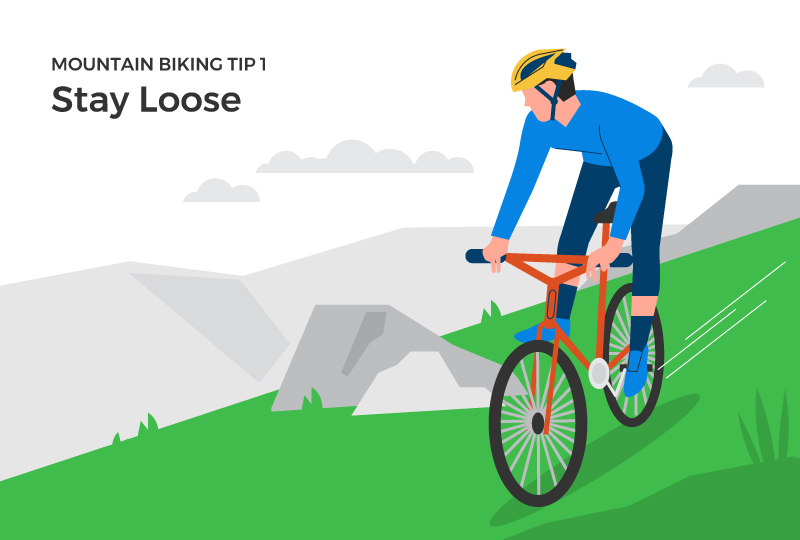
While there is a bunch of mountain biking styles, there’s one principle that rules them all. It’s about staying loose.
It’s easy to try and ‘take full control’ when riding your bike for the first time. But, it’s crucial for you to let your bike do its job. Let it roll beneath you.
If you encounter rocks and roots on the way, just lift your butt off the saddle. Give more room for your bike to move around, especially if the terrain is highly technical.
When you go through a descent, position your arms as if you’re doing a pushup. Then think of yourself as a cowboy who also needs to ‘stay loose’ from their horse while on the ride.
By doing so, you’re not fighting against your bike. And you’ll have a more fluid experience.
2. Go Easy on Your Brakes
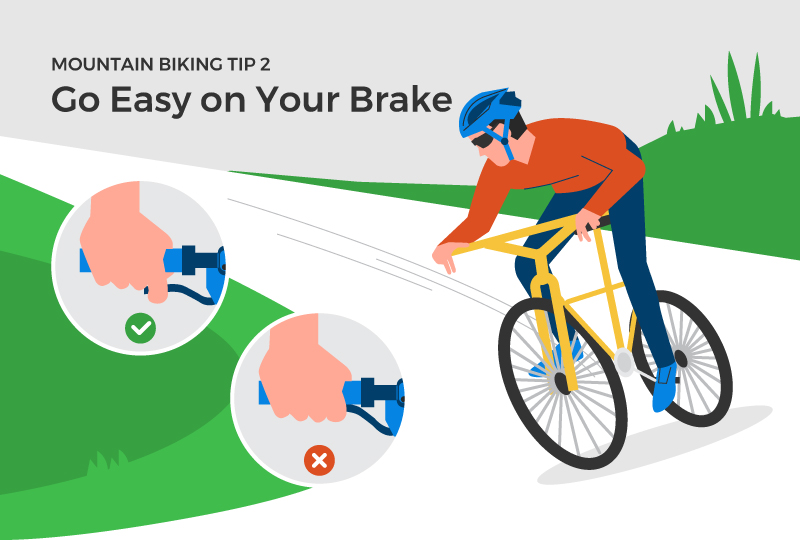
It can be so tempting to pull on your brakes will all your power, especially when faced with an obstacle. But I’m going to have to tell you — resist this temptation!
The brakes in your mountain bike are actually powerful enough. One or two fingers on them should be enough to alter your speed.
Let’s say you’re approaching a corner or somewhere rocky. Slow down a bit before you get to them, and then maintain that speed going through.
If you’re getting through a turn too swiftly, don’t act on the left or front brake. It will stop your front tire and could get you sliding. You could end up falling to the ground!
Instead, hit the right or rear brake. You might skid, but at least you’ll have a greater chance of staying upright.
3. Focus Your Eyes Where You Want to Go
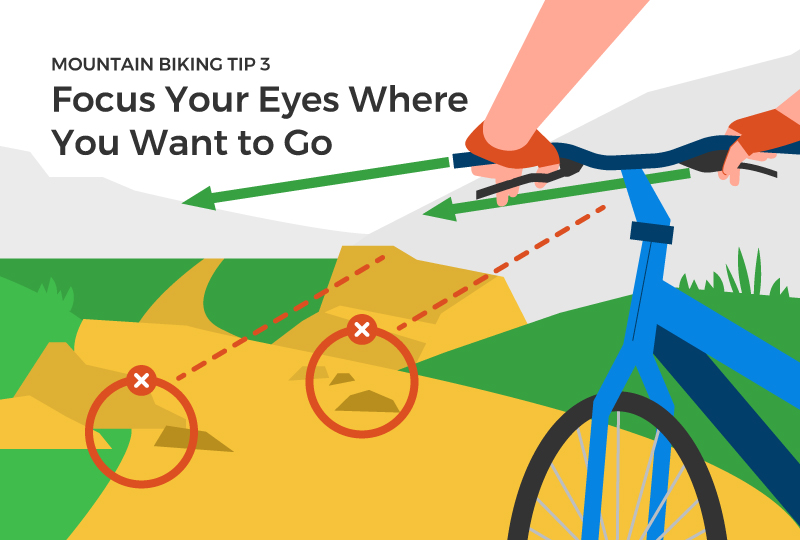
Another tempting thing for a beginner biker is to look at a rock that you’re not supposed to hit. Guess what. It’s more likely for you to hit it that way.
If you really want to avoid a ditch or a pile of rocks, you have to focus your eyes on where you want to go instead. If there’s a pile a few meters in front of you, look on the clear side of the road.
You’ll be surprised how naturally your focus leads the way. Your hands follow, and you’re going to be steering your handlebars past the obstacles toward the clearer path.
Also, try to look far ahead down the trail. Keep your chin parallel to the ground and your eyes forward. You’ll have your peripheral vision to take care of the obstacles nearest you.
4. Learn to Shift Your Weight
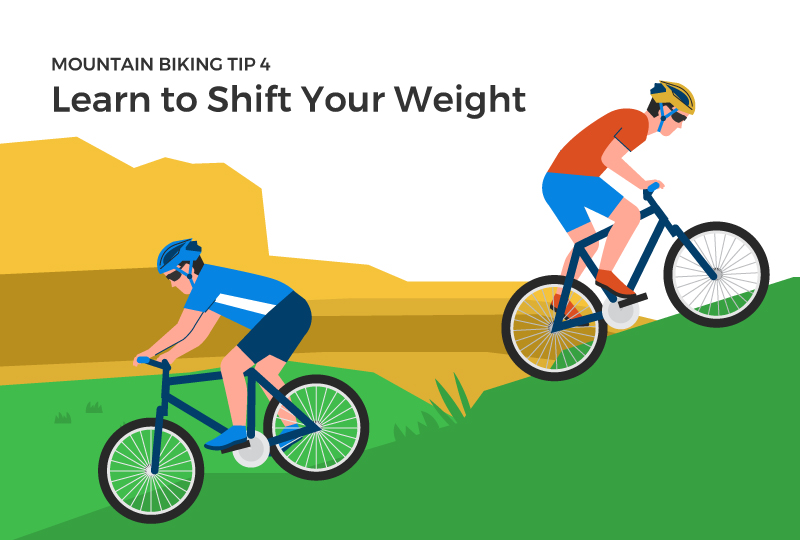
In any case, the principle is to shift your weight such that you’re keeping your center of gravity as close to the ground as possible.
When climbing through steep terrain, you will have to shift your weight forward by leaning, well, forward. This will counter the gravity’s pull on your rear wheel and help you keep your traction.
You simply have to do the opposite when going downhill. Lean backward, shifting your weight behind your saddle and over your rear wheel. This should keep you from tumbling over your handlebars.
5. Practice the Front-Wheel Lift
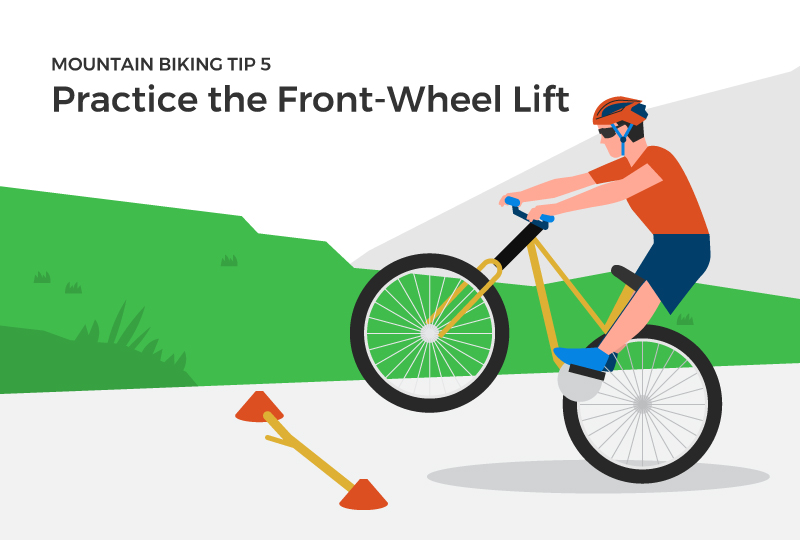
While it may not be practical for beginners to try and hop over obstacles, it still pays to give yourself some room for growth. After all, you don’t plan on staying a beginner, right?
And if that’s the case, you have to learn the ‘load-explode-lift’ technique. It’s not every day that you encounter a log in the middle of a trail, bridging the left and right edges. But it’s not convenient either to always have to stop just to walk your bike over the log.
At some point, you have to practice doing this three-part move.
You can perform it by starting in a ‘ready’ position, standing on equal weights on your pedals with your knees and elbows bent. And look ahead.
To ‘load,’ you have to load your bars with your upper body weight. Bend your elbows aggressively. By doing this, you are effectively compressing your front shock.
The ‘explode’ part should come naturally as the shock rebounds. You only have to straighten your arms explosively as if you’re doing a clapping pushup.
Your front wheel should then leave the ground, turning you into the ‘lift’ mode. Bend your arms and lift your handlebars in order to raise the wheel higher. Timing is crucial here, and it will depend on the speed at which you’re approaching the log or any other obstacle.
The ‘unweighted’ rear wheel should follow right after the front has gone over the log.
Well, you don’t have to wait for an actual, on-trail encounter just to practice this move. Some empty spaces and curbs on a parking lot should provide you a sufficient training ground.
6. Wear Proper Biking Shoes and Helmet
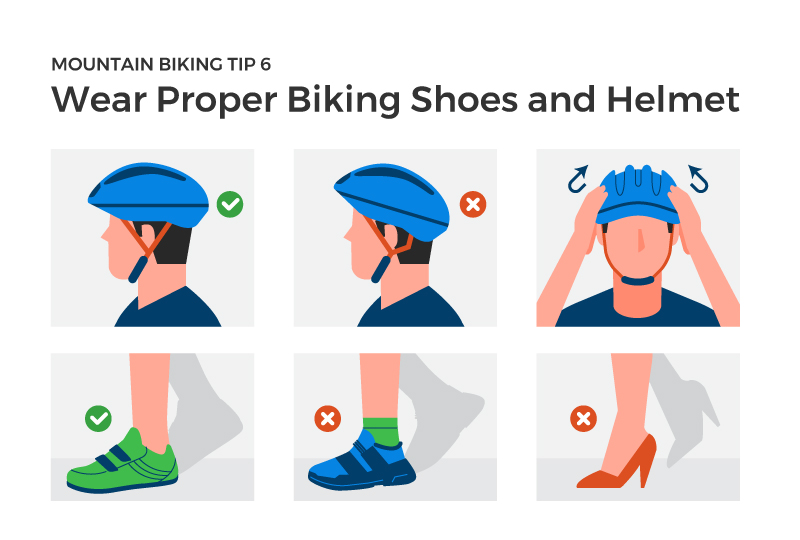
If there are only two things I need you to have to properly get started on a bike: it’s the helmet and biking shoes. These can make all the difference in your safety.
But surprisingly, they can also contribute to the smoothness of your ride.
There are, for instance, helmets that are designed to be aerodynamic. While most mountain biking styles won’t push you to do racing, you might find such helmets useful for freerides or a simple afternoon cruise.
The only thing that’s not negotiable is keeping your head from getting hit by a rock directly. While you could try and be as careful as possible by following the earlier tips above, you can’t possibly be 100% emergency free, especially as a beginner.
So get yourself a protective helmet that’s also light and breathable enough. (If you don’t have one yet, we have a review of the best mountain bike helmets here to help you out.)
By the way, you also have to wear proper bike shoes. While some regular rubber shoes would have you riding just fine, it may still be safer to invest in a dedicated pair of mountain bike shoes.
These have special features designed to work with your clipless or hybrid pedals. And, they also offer added protection, providing you more traction and making sure your feet won’t break off of your pedals in case of a challenging bump ahead.
7. Carry An Emergency Bag
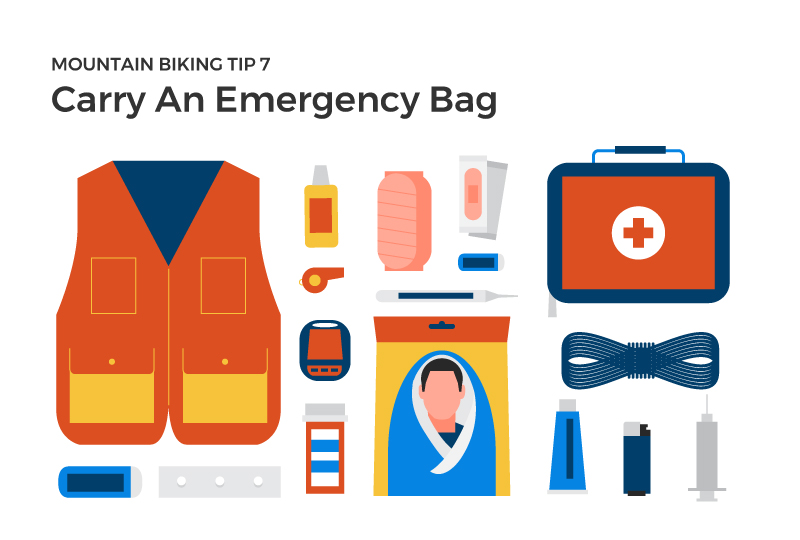
If you do trail rides in unknown terrain, you have to carry more than just your credit card.
Also, pack food and water than what you normally need when you traverse someplace that has not many amenities.
If you know that you are biking into a different and more challenging territory than the usual, pack every biking necessity that you need. Include your tools, a spare tube, and a pump.
Note there are not a lot of convenience stores in many of these places or terrains that you traverse. And I could not stress that out further.
It’s just that doing these things will give you peace of mind and will ensure you of a good and safe ride.
8. Follow A Workout Ride Routine
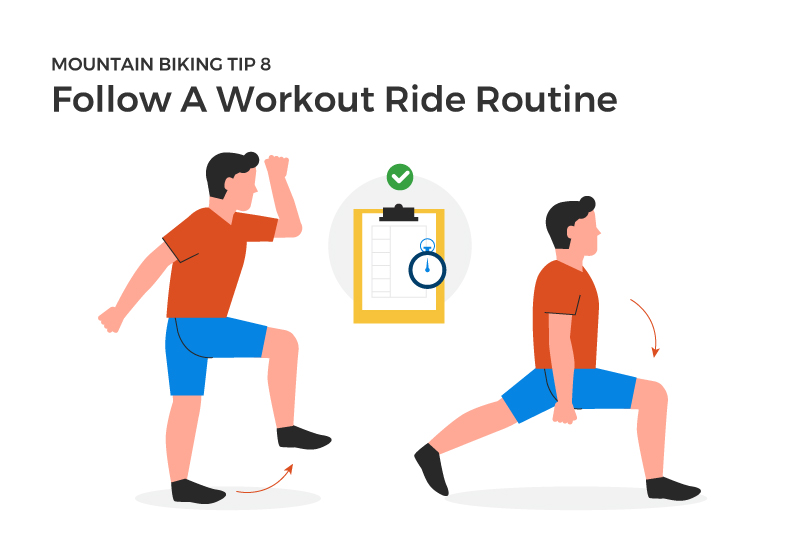
Your ride routine should be according to the mountain biking discipline you’ve chosen. But the general principle is for you to start slow and steady before focusing on speed and intensity.
Let’s say you’re a couch warmer. If you hit the trail immediately after a long day of sitting sluggishly down, it’s going to hurt you.
What you need to do is build some baseline. If you’re a first-timer, you have to spend around four to six weeks in doing consistent, frequent, and low-intensity rides. One pattern is to ride three to four times a week. And do so at one to two hours at a time.
The key is to restrain yourself first.
After around four weeks of that base building, you can now incorporate intervals. Add them into one or two of your rides in a week.
With intervals, you can ride slowly for 30 minutes as a warm-up. Then you give it your full effort for 5 seconds, followed by 10 to 20 seconds of rest. You can do five repetitions of these, and then hit a longer period of rest.
Later, your body should have learned to adjust, and you’re now ready to take on a ‘Tabata’ interval. It involves 20 seconds of full effort followed by 10 seconds of rest. You can go on and on until you hit 8 reps.
Finally, after two to three weeks, you can hit 5 to 10 minutes of all-out efforts. Then, try to keep this pace for 20 minutes to see if you have indeed raised your endurance significantly. By gradual effort.
9. Learn How to Repair Your Bike

In case of emergencies, it’s always helpful to have a bit of knowledge about repairing your bike.
Mechanical troubles are prevalent in mountain biking because of the rugged nature of the terrain or course. You can improve your bike repairing skills so you can more easily get out of a forested area when something goes wrong with your bike.
Take note that the least thing you can learn is how to fix flats. Flats are common in mountain bikes because of the state of the terrain you’re typically biking in.
Another skill to improve in is knowing how to repair a broken chain and replace a bent or cracked derailleur hanger.
You can ask for advice on how to get these things done from the mechanics at your local bike shop.
10. Enjoy, Get Down And Dirty
After following all the above tips, you also need to remind yourself to just enjoy the ride. Even if you’re just a beginner, don’t be afraid to get down and dirty.
As cliche as it seems, mountain biking is both a sport and a hobby. To some people, it may even be a career. But no matter where you are or who you are, the enjoyment that mountain biking brings to the table is something you should savor.
For people who are 9–5 employees, mountain biking is their refuge and their stress eliminator. For people who’ve made a career out of it, it is their money maker. Anyone who is into mountain biking might as well just enjoy the ride.
So, for this hobby’s sake, just keep pedaling!
Hop On to Your First Ride
Mountain biking can be pretty exhilarating when you know how to get the most out of it. With everything you’ve just learned above, I bet you now have a couple of mountain biking disciplines you’re excited to try out.
So choose a style you would want to master first, pick your best mountain bike, and hop on. And don’t forget to follow the above riding tips.
I’m pretty sure it will then be a happy first ride!